

|
Thaumatropes
Tuesday, April 1, 2008 | Craft
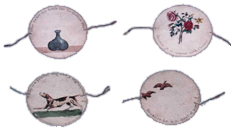
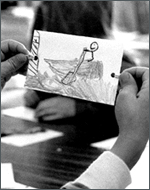
The thaumatrope was invented in the 1820s and it proved the phenomena of persistence of vision. The word "thaumatrope" has Greek roots. "Thauma" means magic in Greek and "trope" refers to something that turns. The thaumatrope is somewhat magical because it creates illusions dependent on persistence of vision.
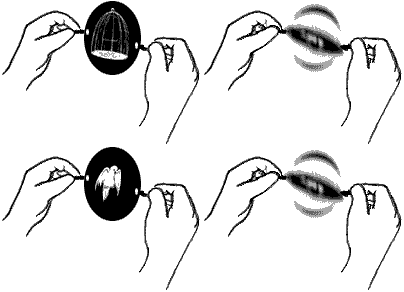 When you spin a thaumatrope, the two images on either side seem to blend together and become one picture. If you spin the thaumatrope very fast, this illusion is strong. If you spin the thaumatrope more slowly, you may perceive simple movement instead of one single image. You might also notice as the thaumatrope spins that the illusion is the strongest near its center line, or axis, where the pictures are most continuously visible.
To Make A Thaumatrope
- You will need two cards (3" x 5" index cards work well), a hole punch and two 2" rubberbands to make a thaumatrope. Punch one hole in each end of each card. (If you're using square cards, you can punch a hole in each of two opposite corners of each card). Take one card and orient it so that the two holes are horizontal to each other, one on the left and one on the right. Draw a simple picture in pencil in the middle of this card.
- Take a second card and place it on top of the first one so the holes are lined up with each other. If you can't see through the second card to the drawing on the first, hold both up to a light or against a window. Draw your second picture the way you want it to fit with the first picture in the finished thaumatrope.
- When you've finished both drawings, turn the second card upside down and place it back to back with the first one. The side holes should match up. The top of the first drawing should now be back to back with the bottom of the second drawing and vice-versa.
- To make handles, take a rubber band and thread it halfway through the holes on one end of the thaumatrope so that loops extend on either side.
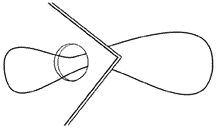
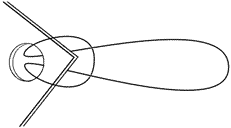
Take one loop and thread it through the other, pulling it to create a half-hitch knot securely against the cards. Repeat this step using a second rubber band for the handle on the other side of the thaumatrope.
- Spin your thaumatrope to see what happens. You can make changes by removing the rubber bands and adding more to the drawings or coloring them in. You can go over your pencil lines with ink to make them bolder.

|

|

